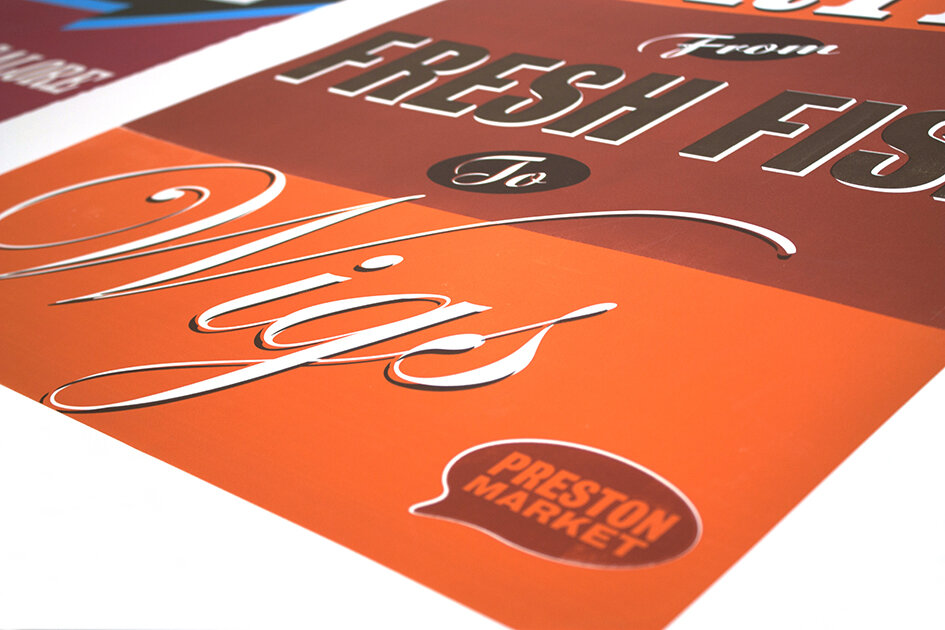
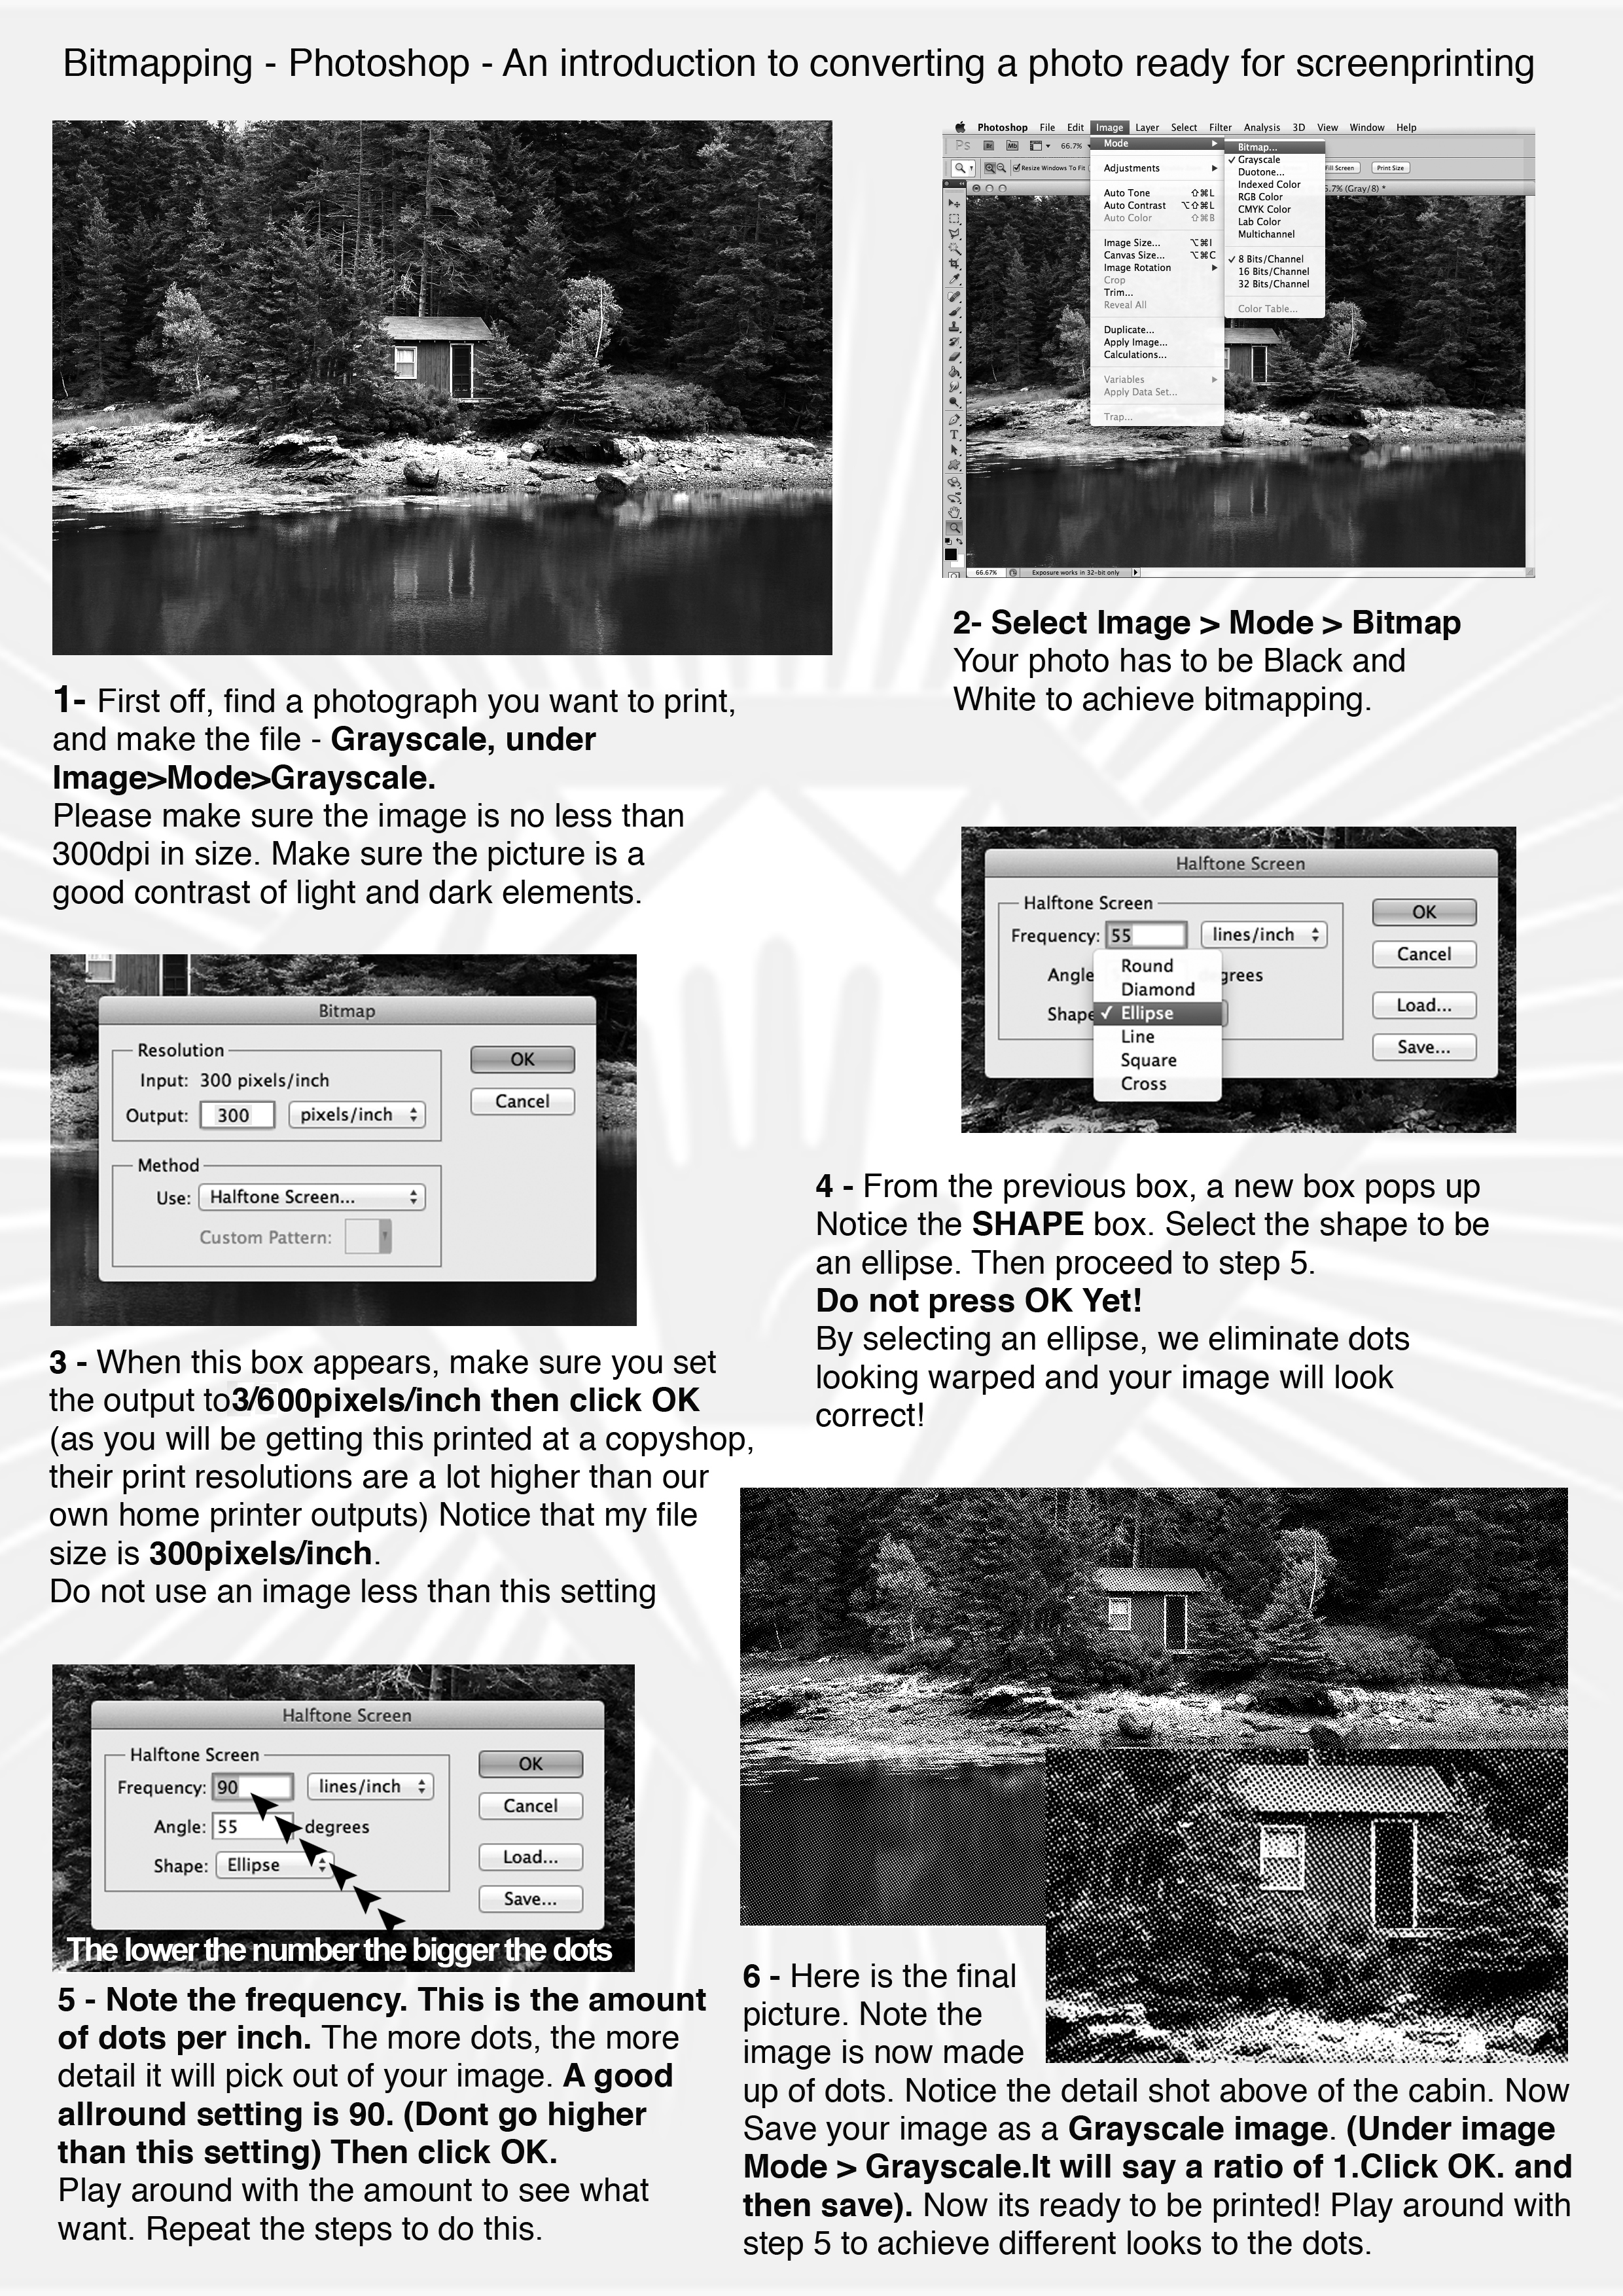
We have fantastic facilities and technicians here at UCLan to help us create designs and artwork which in the outside world would: a) leave us to figure things out alone, and b) cost a truckload of cash. The ability to produce finished, crafted prints cannot be underestimated in a world of portfolios full to the brim with PSD mockups; but lacking in actual, physical print.
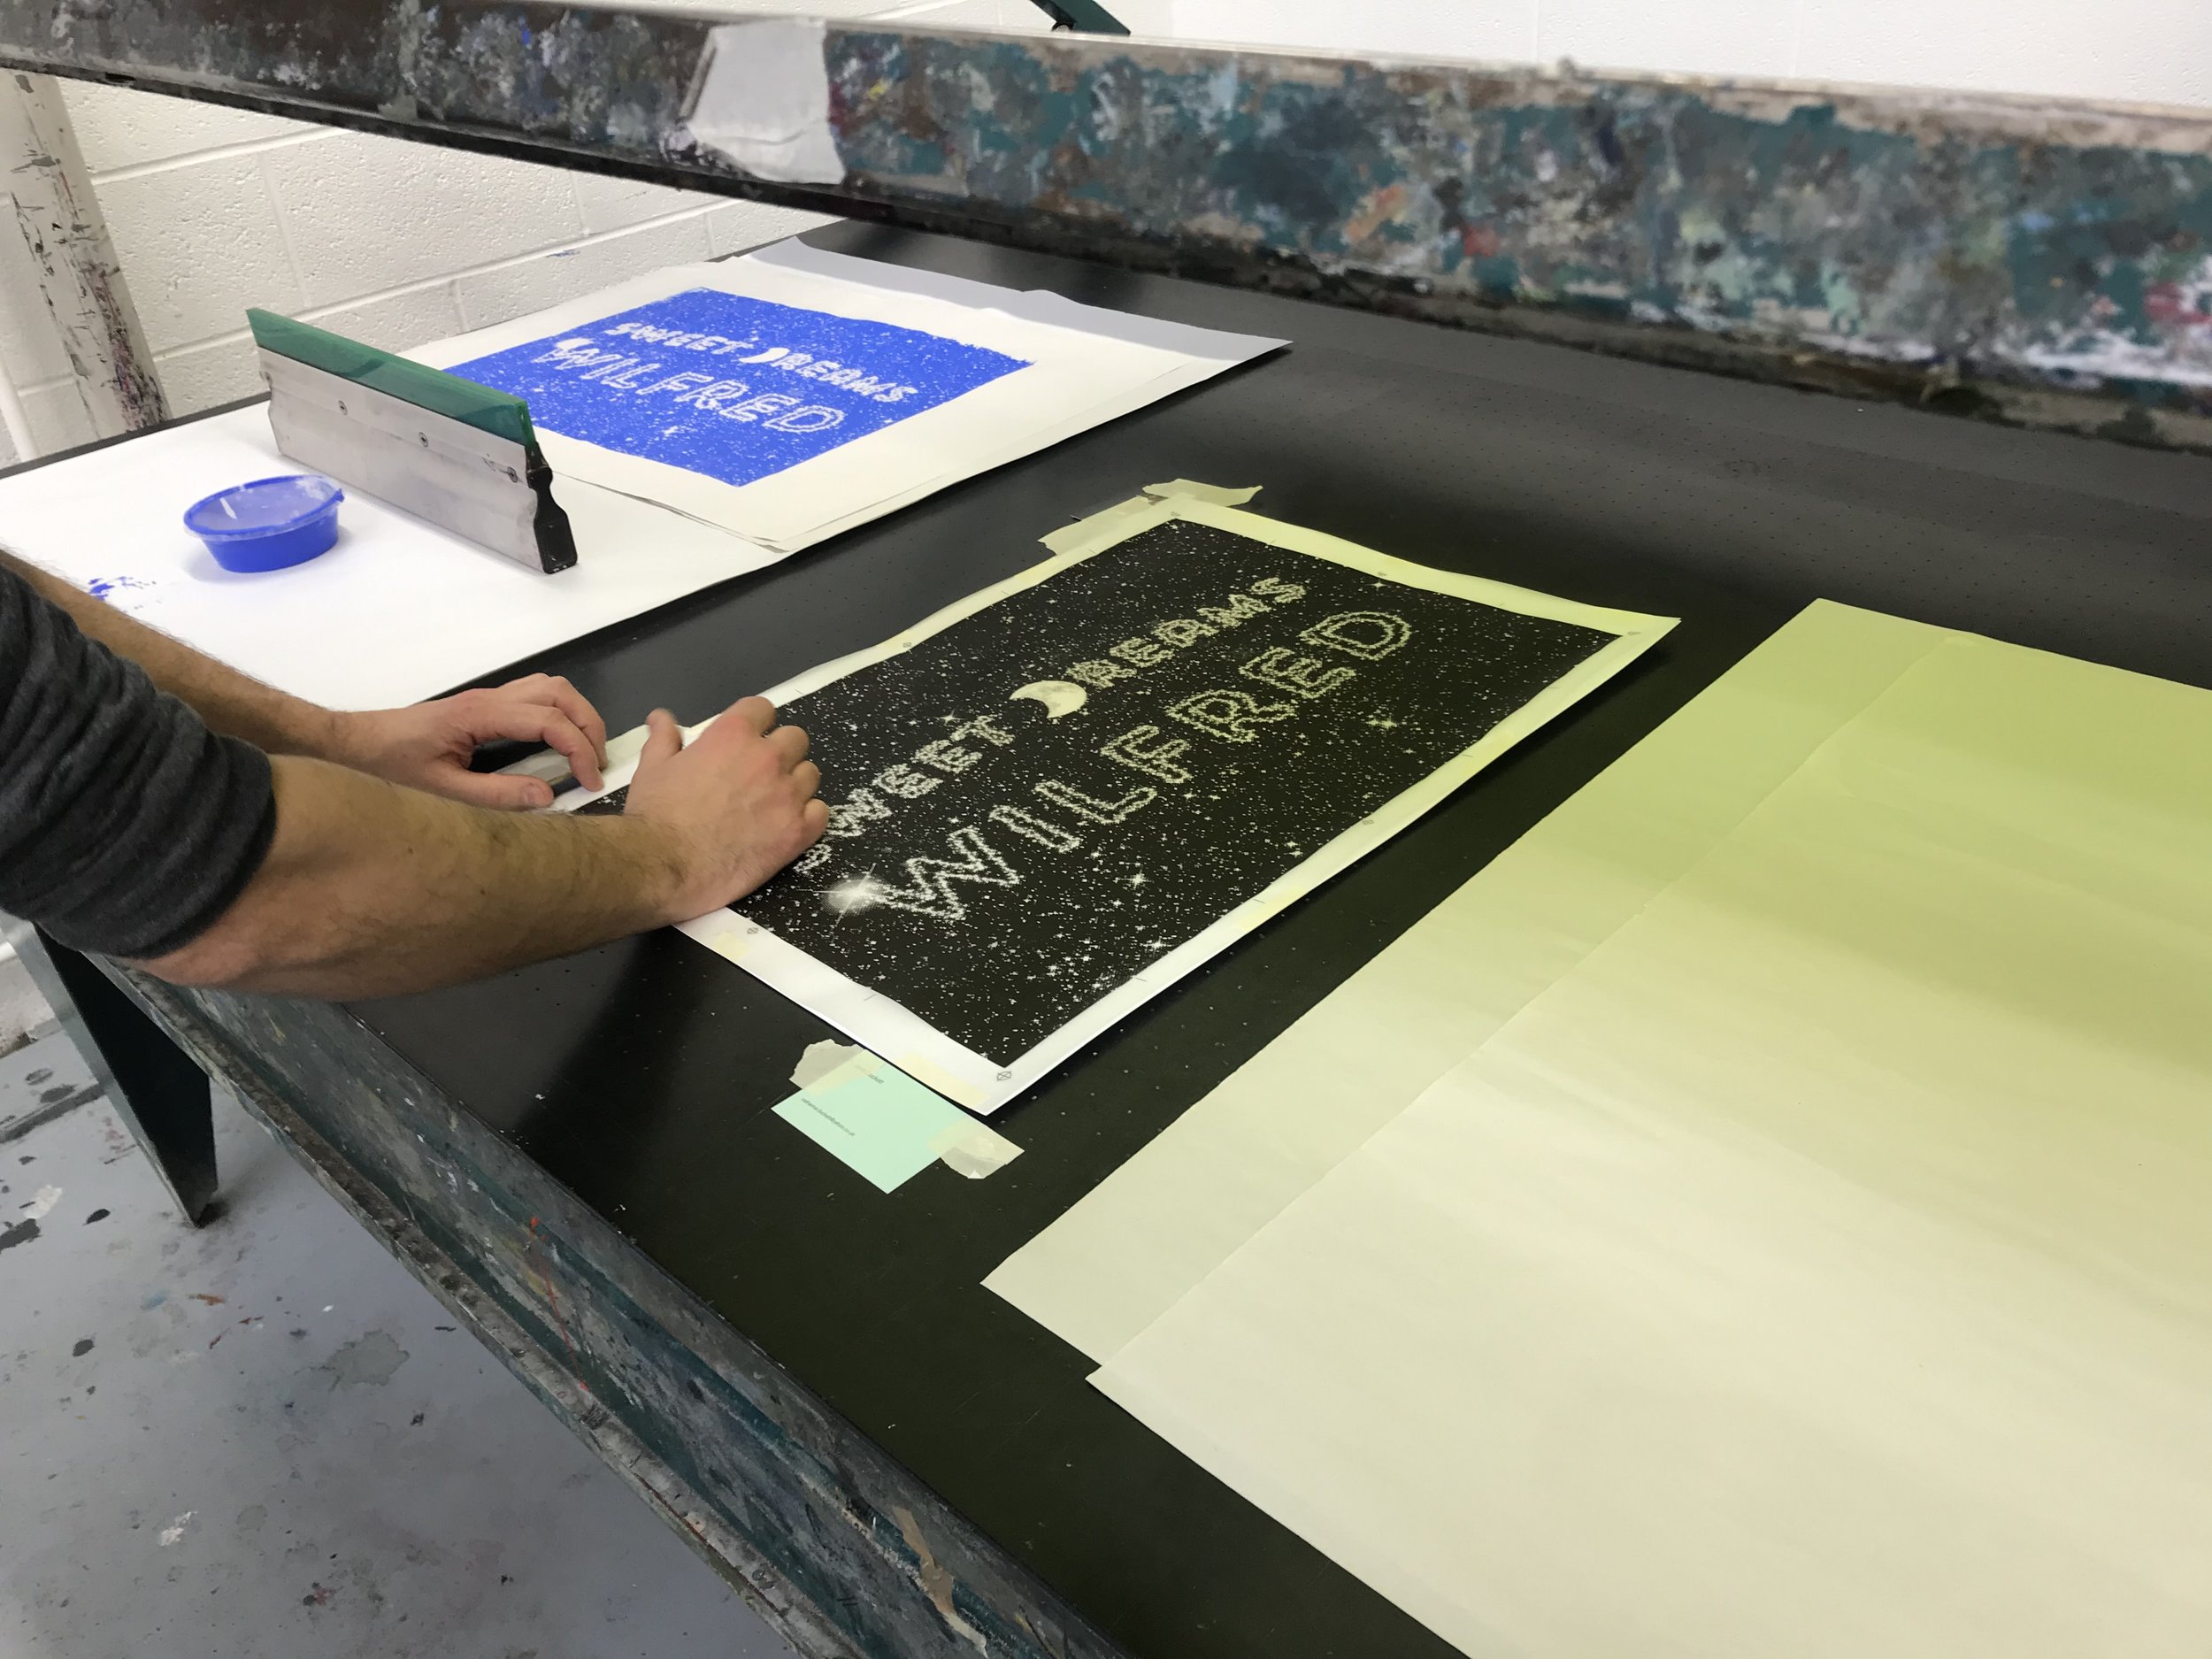
The process of screen printing is a simple one. You create a stencil (in effect) on a silk screen, then push ink through it onto paper, or material, or other substrate (perspex, timber and metal have been done - speak to the technicians to see what's possible). One colour of ink is pushed through at a time, but your design may be more than one colour so you can build up in layers, or you can print in CMYK. In fact, colour is a big part of the process as the vibrancy you can achieve when printing with ink cannot be matched by any laser or inkjet printer.
The Process
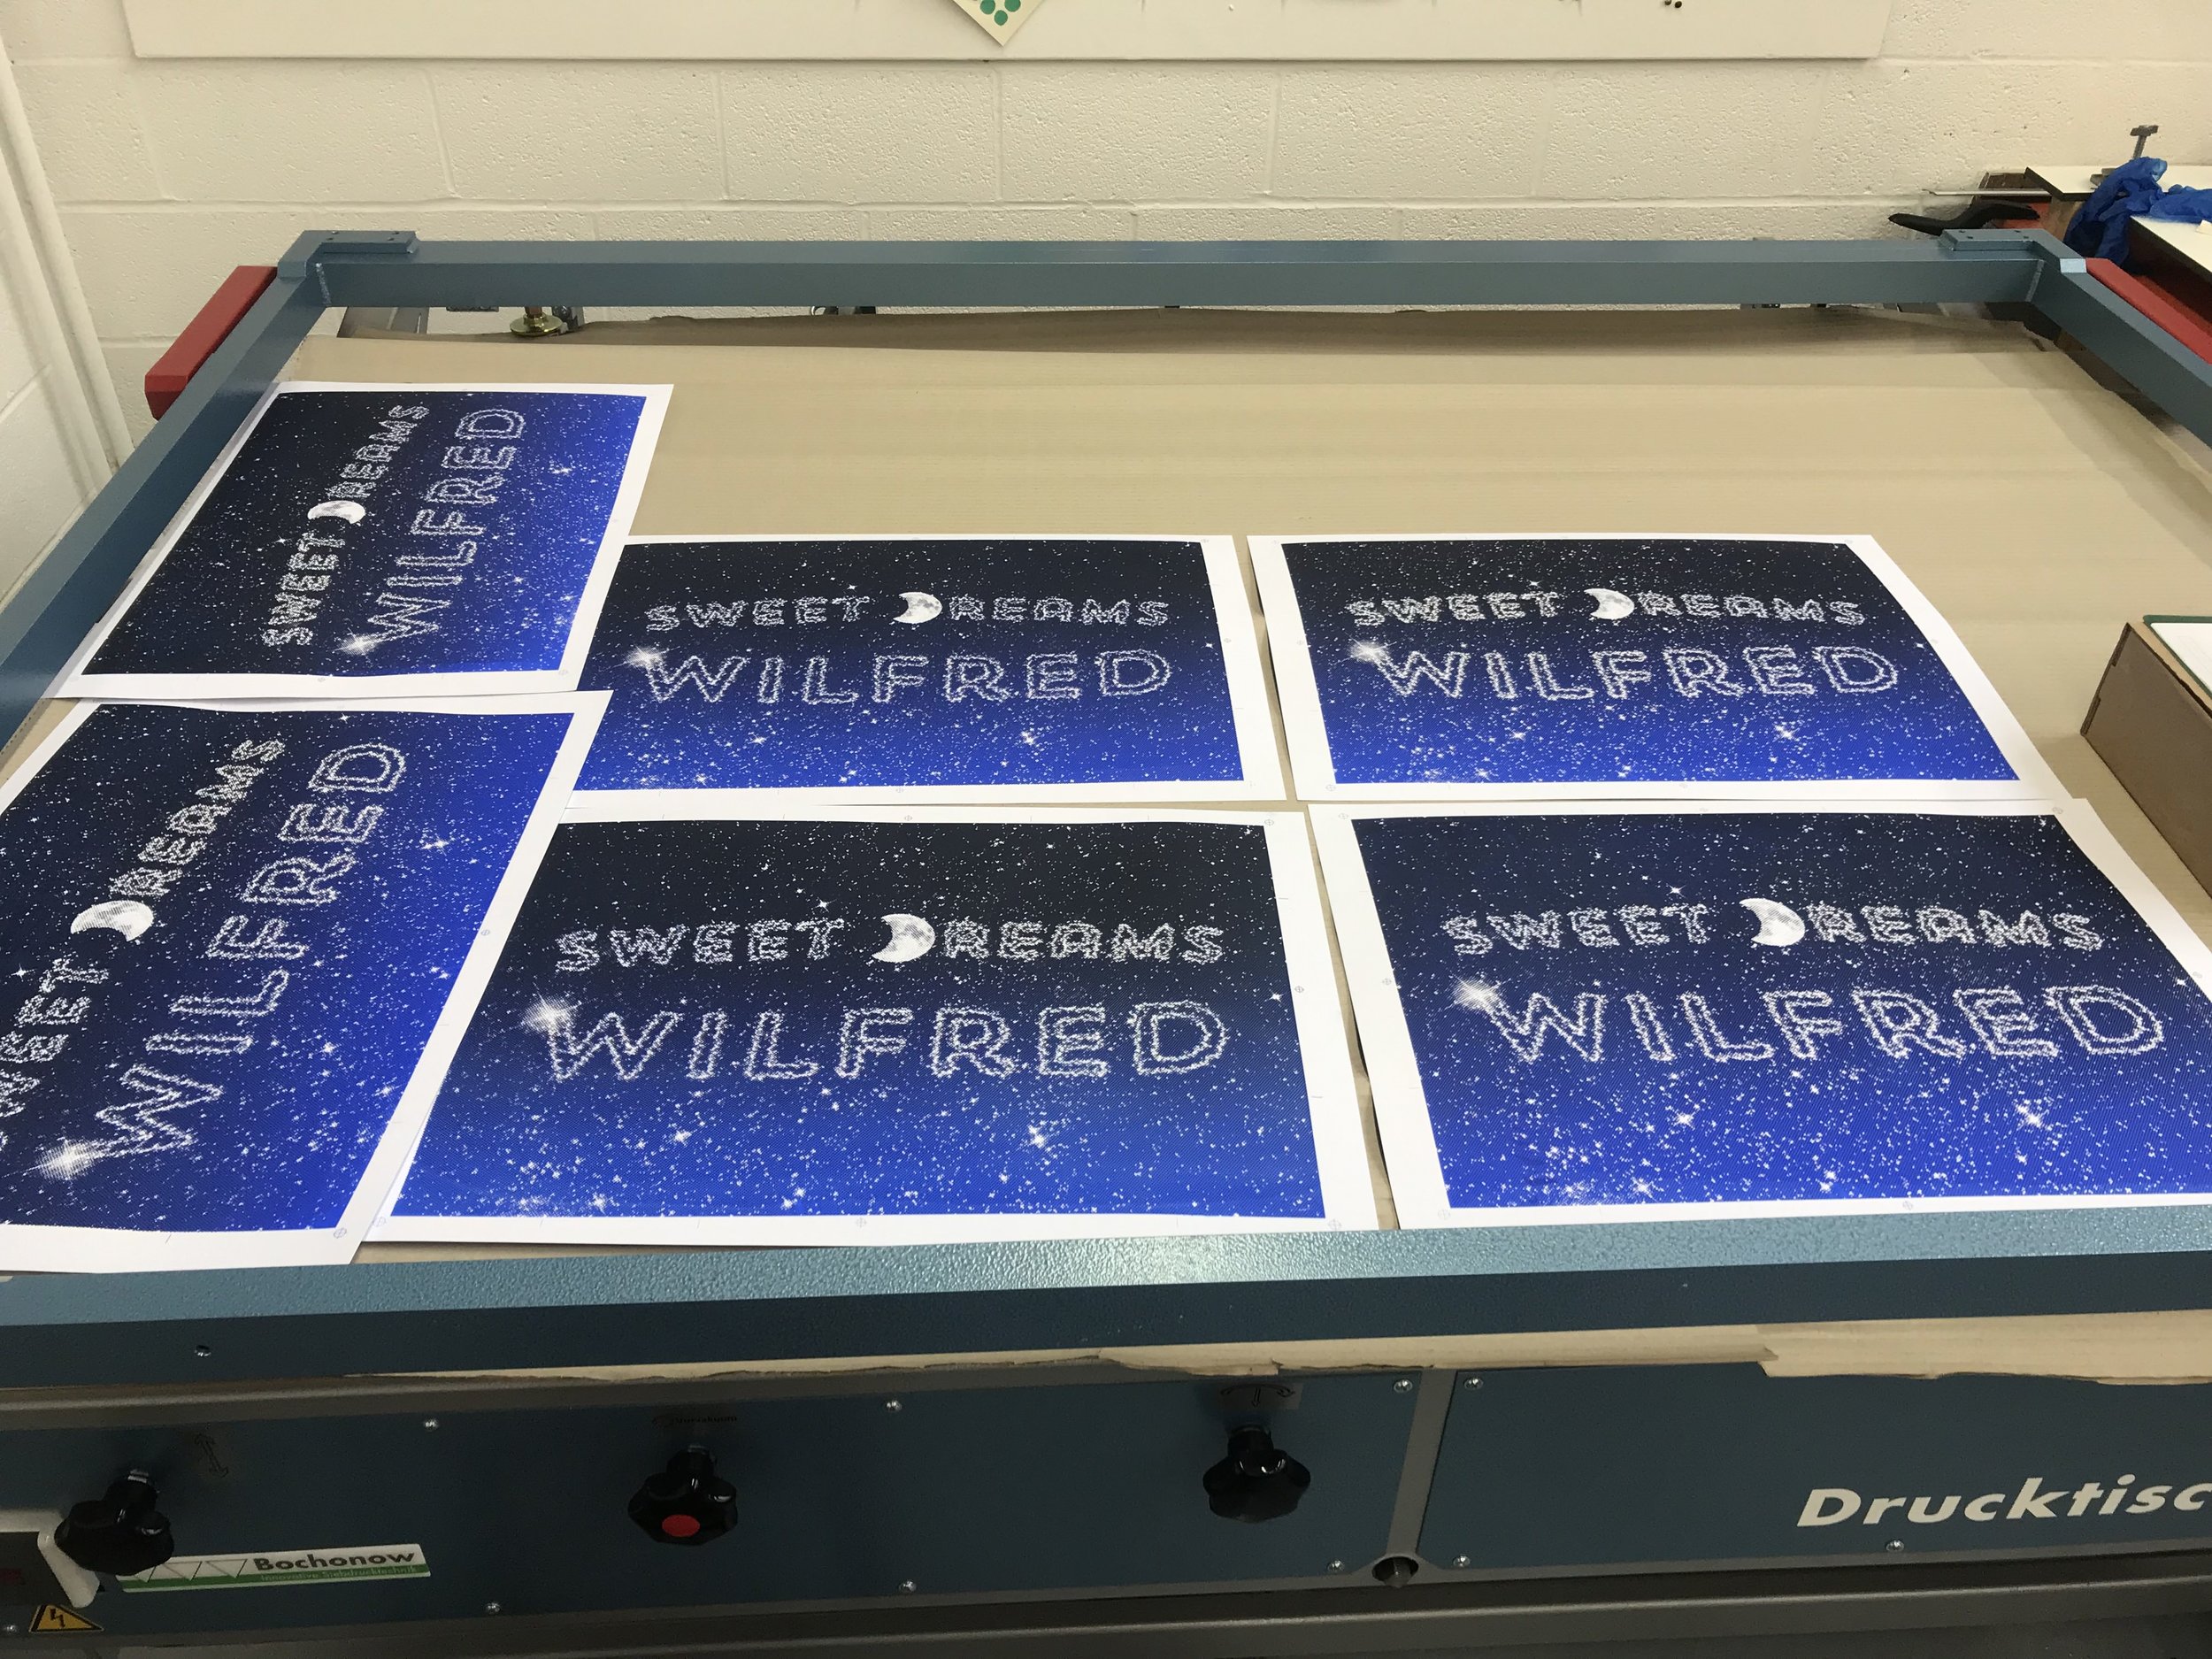
Having not produced a piece of print with my own hands since I was at college 20 years ago, I recently took up the option of an induction into screenprinting. In terms of the process, the first thing to do is create your artwork. For my induction I designed a landscape poster for my son’s wall which used two colours. It’s important to note that you will need registration marks for any design where you want things to line up. Also, as you create your artwork, remember that wherever there is black on your design, this is where the ink will pass through. (I got that the wrong way around on my first attempt.)
Below are the two layers I designed, and finally what I intended the outcome to be.


